hexo系列(八)部署到GitHub
将本地的Hexo博客项目部署到GitHub
一、将本机的Git和GitHub网站上的账户通过SSH建立连接
空白处点击Git Bash Here,输入配置username,email(因为Git是分布式版本控制系统,所以需要填写用户名和邮箱作为一个标识)
1
2
3
git config --global user.name 'github的用户名'
git config --global user.email 'github绑定的邮箱'注意:git config –global “参数”,有了这个参数,表示你这台机器上所有的Git仓库都会使用这个配置,当然你也可以对某个仓库指定的不同的用户名和邮箱。
本地创建SSH key
1
ssh-keygen -t rsa
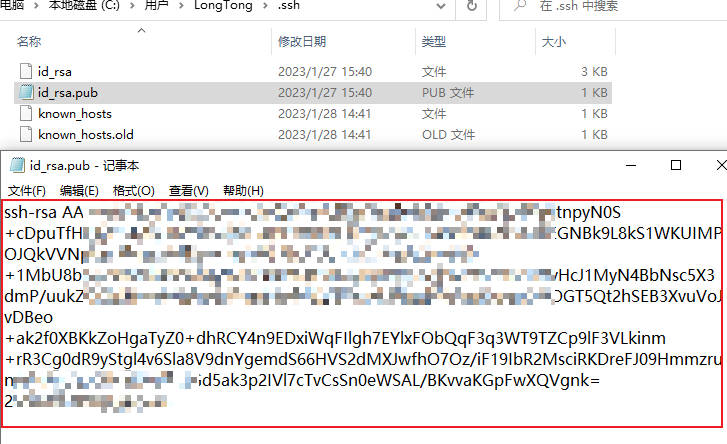
然后按回车健即可,私人电脑不需要设置密码。进入这个文件夹下面C:/Users/用户名/.ssh,复制
id_rsa.pub公钥内容。
远程github配置ssh秘钥
点击GitHub账户头像—Settings—SSH and GPG keys—New SSH key
Title随便填,Key填上刚刚复制的公钥。

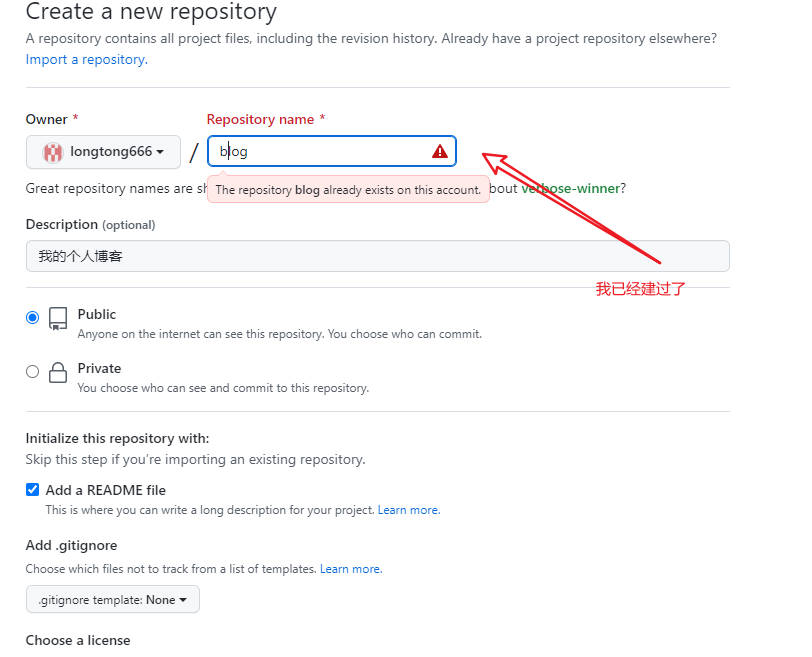
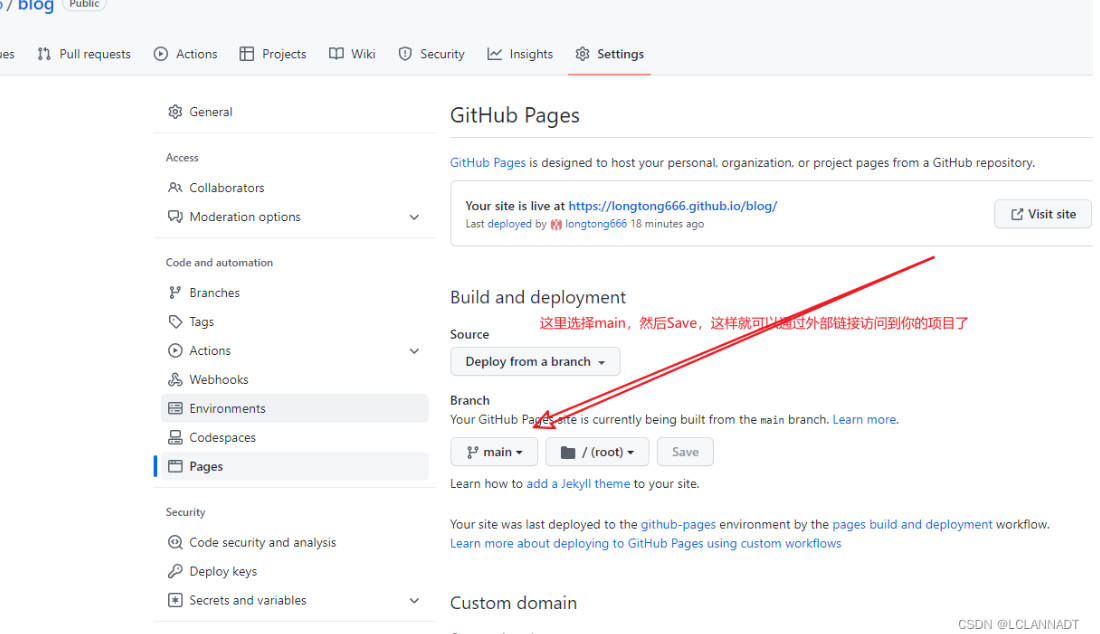
二、在Github账号中新建一个仓库blog,并且设置pages(这里不使用用户名.github.io为仓库名,pages设置会处理外链接访问问题)
三、修改配置文件并通过Git部署到Github
打开根目录下的 _config.yml文件夹,在文件顶部的URL和底部的Deployment替换为如下内容
1
2
3
4
5
6
7
8
9
10
11
12
13
14
15
16
17
18
19
20
21
22
23
24
# URL
## Set your site url here. For example, if you use GitHub Page, set url as 'https://username.github.io/project'
url: https://你的用户名.github.io/blog
root: /blog
permalink: :year/:month/:day/:title/
permalink_defaults:
pretty_urls:
trailing_index: true # Set to false to remove trailing 'index.html' from permalinks
trailing_html: true # Set to false to remove trailing '.html' from permalinks
# Deployment
## Docs: https://hexo.io/docs/one-command-deployment
deploy:
type: git
repository: https://github.com/你的用户名/blog.git #你的仓库地址
branch: main回到 Blog 文件夹中,打开 Git Bash,安装Git部署插件
1
npm install hexo-deployer-git --save
输入指令,部署到GitHub
1
2
3
4
5
6
7
8
9
10
11
12
13
14
15
16
hexo clean #清除缓存文件 db.json 和已生成的静态文件 public
hexo g #生成网站静态文件到默认设置的 public 文件夹(hexo generate 的缩写)
hexo d #自动生成网站静态文件,并部署到设定的仓库(hexo deploy 的缩写)
备用指令-无法上传Git问题
cd ~/.ssh
ssh-add ~/.ssh/id_rsa_github // 将 GitHub 私钥添加到本地
如果出现Could not open a connection to your authentication agent.
则先输入
ssh-agent bash
添加完毕后,可以通过执行 ssh-add -l 验证下
ssh-add -l
最后通过访问 https://你的用户名.github.io/blog 进入你的博客主页

本博客所有文章除特别声明外,均采用 CC BY-NC-SA 4.0 许可协议。转载请注明来自 LongTong!
相关推荐


评论
GitalkDisqus